How to take product photos for Blinkit?
Shoot the pack filling the frame on white, with the weight and variant facing camera, and judge every frame at thumbnail size rather than full screen.
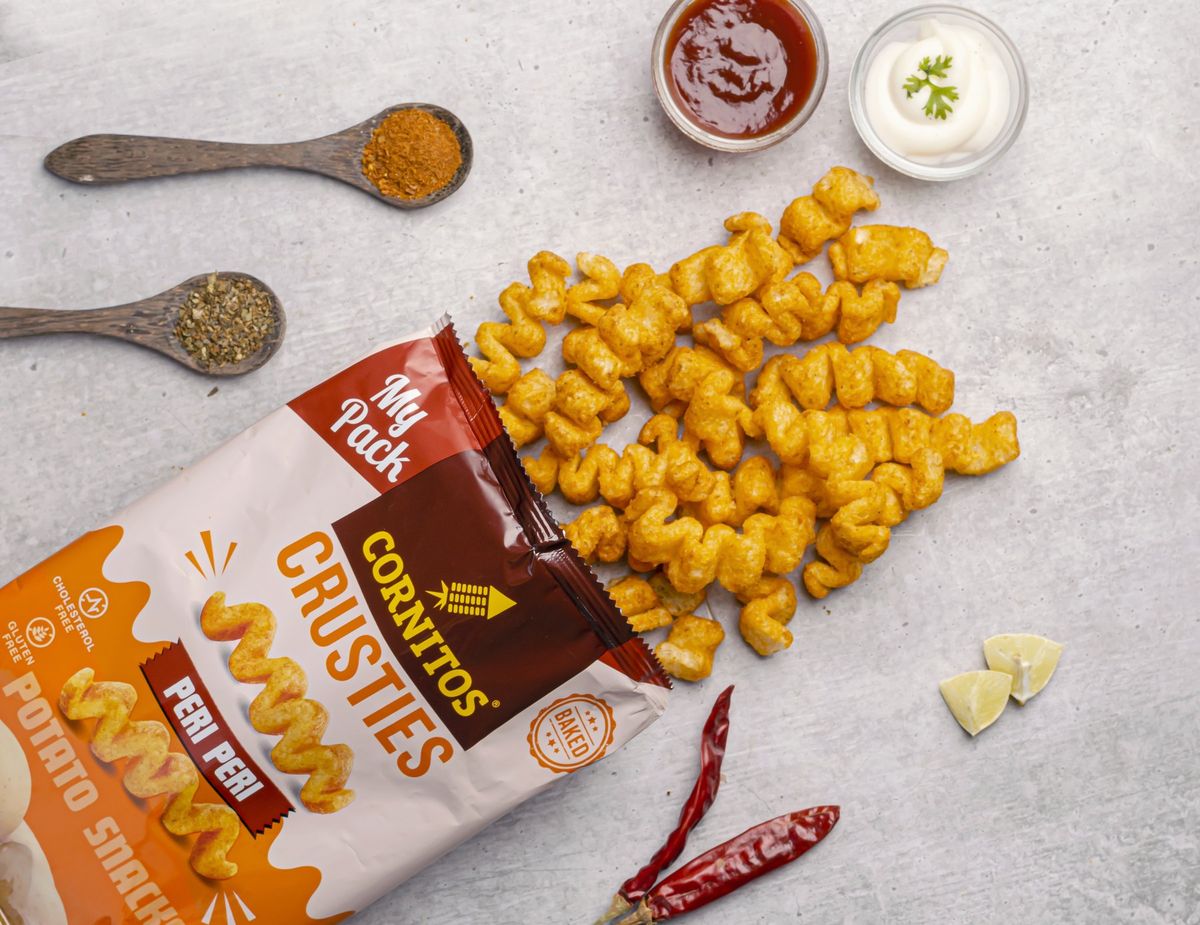
Get the brief from your category manager first. Blinkit issues its image spec through the category team that onboards you rather than a public portal, so that is the number to shoot to. Then shoot above it, because the brief gets revised and a set built to the exact floor is a set you pay for twice.
What does not change is the viewing condition, and that is where most Blinkit images go wrong. Almost all of this shopping happens on a phone, in a scrolling grid, and on a ten minute grocery order most people never open the product page at all. The tile is the whole listing. So the test for every frame is not whether it looks good on your monitor. It is whether it still works shrunk to the size of a thumbnail.
That test is worth running literally. Shrink the image on screen until it is about the size of a fingernail and see what survives. Usually the answer is the pack silhouette and the dominant colour, and nothing else. If your product is only identifiable by text at that size, the shot needs rethinking.
Three things follow from it. The pack fills the frame rather than floating in white space, because empty margin is space you are not using. The face pointing at camera is whichever one carries the weight and the flavour, not the one with the biggest logo. And a pale or white pack needs enough shadow and edge definition to separate from the white grid behind it, or it reads as a hole in the page.
The last point is about money rather than photography. A large share of the Blinkit grid is paid placement now. If you are buying visibility and the image in that slot is a phone photo, you are paying for people to scroll past you faster.
Our Blinkit photography covers full pack ranges, and what product photography costs in India sets out the rates.
What images does Blinkit ask for per product?
These are the image types listed in Blinkit's Seller Hub Guide. It names image types, not pixel sizes, so get the size from your category manager.
- Product image: shows how the product appears to customers.
- Picker image: the product with its first layer of packaging, for the pickers in the dark store.
- UPC image: shows the unique product code, for warehouse scanning.
- FSSAI image, for edibles: the packaging showing the FSSAI licence number.
- Ayurvedic products: add only your AYUSH licence number, matching the product image.
- BIS compliance: where it applies, the valid BIS licence number goes in at listing.
- Blinkit's guide says to avoid mobile-captured images, which can cause request rejections.
Frequently asked questions
What is a picker image on Blinkit?
It is a photo of the product with its first layer of packaging, shown to the pickers who pull orders in the dark store. It is separate from the product image customers see.
Does Blinkit accept phone photos?
Blinkit's Seller Hub Guide says to avoid mobile-captured images, because they can lead to request rejections. Shoot with a camera and proper light.
How long does Blinkit take to approve a new product?
The Seller Hub Guide gives about 7 days for request approval, after the activation payment is made.
Does Blinkit publish pixel sizes for product images?
Its Seller Hub Guide lists image types rather than pixel sizes. Ask your category manager for the current size, and shoot above it.