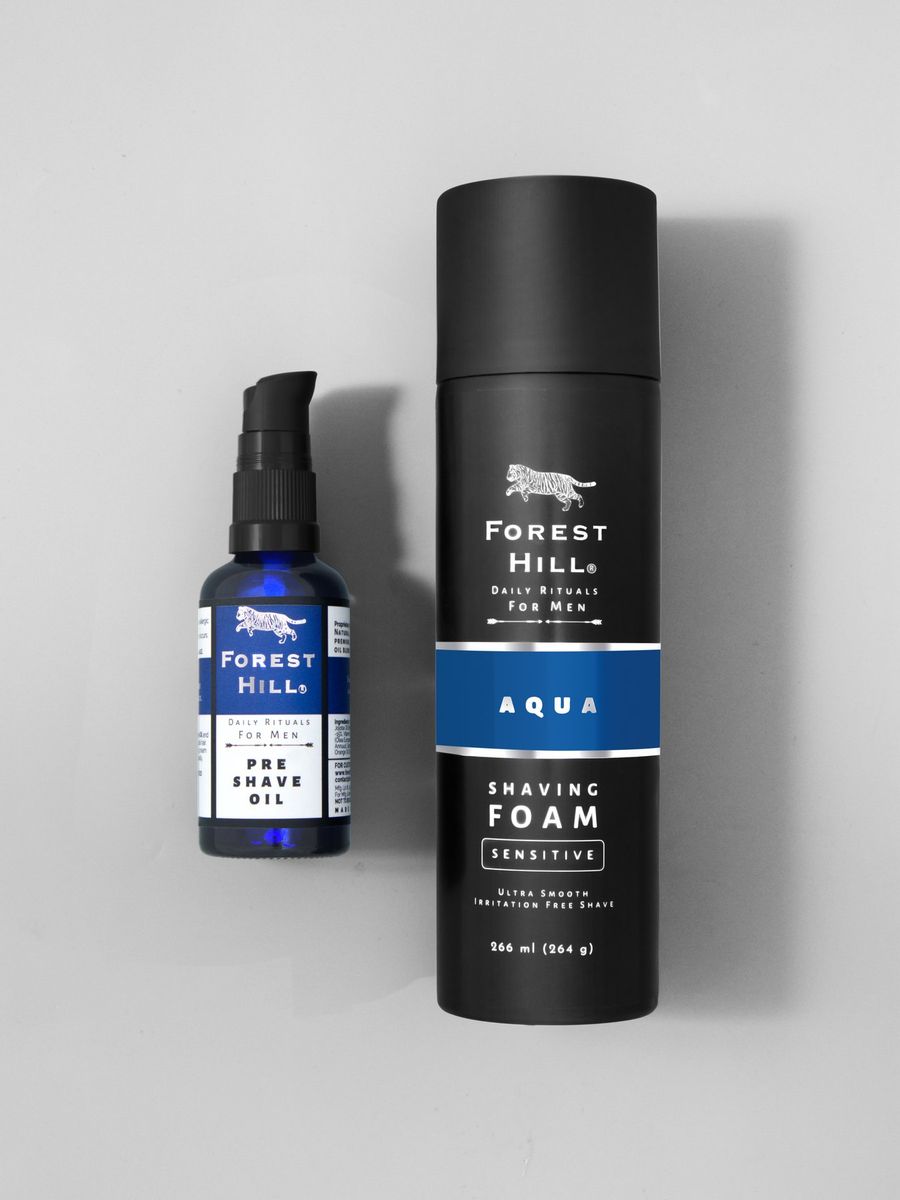
Building a product photography studio is one of the best investments an ecommerce brand can make. Whether you're setting up a corner of your office or dedicating an entire room, the right setup pays for itself through better conversions and eliminated outsourcing costs.
This guide covers everything: the gear you actually need (and what's overkill), the software that professionals use, and the skills that separate amateur snapshots from images that sell.
Before You Buy: Assessing Your Needs
Before spending on equipment, answer these questions honestly:
What products will you shoot? Jewelry requires different equipment than furniture. Small products need macro capabilities. Reflective items demand specialized lighting. Your product category determines your gear priorities.
What volume do you need? Shooting 10 products per month is manageable with basic equipment. Shooting 100+ requires efficiency-focused gear and workflow optimization.
What's your skill level? Expensive equipment won't help if you don't know how to use it. Sometimes starting simple and upgrading as skills develop makes more sense than buying professional gear immediately.
The Studio Space
Location Requirements
You need less space than you think. A 10x10 foot area is sufficient for most product photography. Key requirements:
Control over ambient light: Windows are great for natural light shooting but problematic for consistent studio work. Ideally, you can block all external light when needed.
Stable power supply: Professional lighting draws significant power. Ensure adequate outlets and stable electricity.
Climate control: Temperature fluctuations affect equipment and products. Air conditioning matters, especially for food or cosmetics that can melt or shift.
Clean environment: Dust is your enemy. Every speck shows up in close-up shots and requires editing time to remove.
Studio Setup Essentials
Shooting table: A sturdy table at comfortable working height. Acrylic sweep tables (with curved backs) create seamless white backgrounds. Cost: ₹3,000-15,000.
Background system: Paper rolls on a stand system allow easy background changes. Get white, black, and gray to start. Cost: ₹5,000-12,000 for stands plus ₹500-1,000 per roll.
Storage: Organized storage for props, products, and equipment keeps the studio efficient. Shelving systems and labeled bins save time.
Camera Equipment
Cameras: What Actually Matters
Good news: you don't need a ₹3 lakh camera. Modern mid-range cameras produce publication-quality images. What matters:
Resolution: 24+ megapixels is sufficient for ecommerce. Higher resolution provides cropping flexibility but requires more storage and processing power.
Sensor size: Full-frame sensors offer better low-light performance and depth of field control. APS-C sensors are more affordable and perfectly adequate for product work with proper lighting.
Manual controls: Essential. You must control aperture, shutter speed, and ISO independently. All interchangeable lens cameras offer this.
Recommended Cameras by Budget
Entry Level (₹50,000-80,000): Canon EOS R10, Nikon Z50, Sony A6400. These APS-C mirrorless cameras deliver excellent results with proper technique.
Mid-Range (₹1,00,000-1,50,000): Canon EOS R6 Mark II, Nikon Z6 III, Sony A7 IV. Full-frame sensors, better autofocus, superior dynamic range.
Professional (₹2,50,000+): Canon EOS R5, Nikon Z8, Sony A7R V. Maximum resolution and features. Overkill for most product work unless shooting for billboards.
Lenses: Where Money Should Go
Lenses matter more than camera bodies. A great lens on a mid-range body outperforms a mediocre lens on an expensive body.
Standard zoom (24-70mm f/2.8): The workhorse. Covers most product photography needs. Budget ₹80,000-1,50,000 for quality options.
Macro lens (90-105mm f/2.8): Essential for jewelry, watches, small electronics, or any product where texture details matter. Budget ₹50,000-80,000.
50mm or 85mm prime: Excellent for lifestyle context where subtle background blur adds appeal. Budget ₹30,000-60,000.
Camera Accessories
Tripod: Non-negotiable. Shaky hands cause soft images. Get a sturdy tripod with a geared head for precise positioning. Budget ₹15,000-40,000.
Remote shutter: Prevents camera shake when pressing the button. Wireless options add convenience. Budget ₹2,000-5,000.
Tethering cable and software: Connect your camera to a computer for real-time viewing on a large screen. Capture One or Lightroom support tethered shooting. Budget ₹3,000-5,000 for cables.
Memory cards: Fast, reliable cards. Shoot RAW files, which are large. 128GB minimum, preferably multiple cards. Budget ₹5,000-10,000.
Lighting Equipment
Lighting is the single most important factor in product photography. Natural light is free but uncontrollable. Studio lighting provides consistency and precision.
Types of Studio Lighting
Continuous lights: Always on, what you see is what you get. Easier for beginners. LED panels have largely replaced hot tungsten lights. Good for video too.
Strobe/Flash lights: Fire only when triggered. More powerful than continuous lights, allowing smaller apertures and lower ISOs. Professional standard for most product work.
Recommended Lighting Kits
Beginner (₹15,000-30,000): Two LED panels with stands and softboxes. Provides enough light for small to medium products. Examples: Godox SL60W, Aputure Amaran 100d.
Intermediate (₹50,000-1,00,000): Two strobe lights (400Ws+) with softboxes and stands. Add a strip light for rim lighting. Examples: Godox AD400Pro, Profoto B10.
Professional (₹2,00,000+): Multiple strobes with various modifiers, background lights, and specialized equipment for reflective surfaces. Examples: Profoto D2, Broncolor Siros.
Light Modifiers
Raw lights are harsh. Modifiers shape and soften light for professional results.
Softboxes: Diffuse light for soft shadows. Rectangular softboxes work well for products. Essential purchase. Budget ₹5,000-15,000 each.
Strip lights: Narrow softboxes for rim lighting and highlighting edges. Great for bottles and reflective products. Budget ₹8,000-20,000.
Beauty dishes: Punchy light with soft falloff. Excellent for cosmetics and lifestyle product shots. Budget ₹5,000-12,000.
Reflectors and diffusers: Bounce light into shadows or soften harsh light. 5-in-1 reflector kits are versatile and affordable. Budget ₹2,000-5,000.
Light tent/cube: Enclosed diffusion for highly reflective products like jewelry or chrome items. Budget ₹3,000-10,000.
Backgrounds and Props
Background Options
Seamless paper: Industry standard. Rolls onto sweep stands. Disposable when dirty. White is essential; add colors as needed. Budget ₹500-1,000 per roll.
Vinyl/PVC backgrounds: Wipeable, reusable, but can show reflections. Good for products that might stain paper. Budget ₹2,000-5,000.
Acrylic and glass: For floating reflections under products. Black and white acrylic sheets are common. Budget ₹3,000-8,000.
Textured surfaces: Wood planks, marble tiles, fabric — add context to lifestyle shots. Build a collection over time. Budget varies.
Props and Styling Tools
Product stands: Museum putty, acrylic risers, fishing line for suspended products. Budget ₹2,000-5,000.
Styling kit: Tweezers, lint rollers, microfiber cloths, compressed air, steamer for fabrics. Budget ₹3,000-5,000.
Props collection: Varies by industry. Food photographers need utensils and ingredients. Beauty brands need flowers and textures. Build based on your products.
Computer and Software
Computer Requirements
Photo editing demands processing power. Minimum specifications for smooth workflow:
Processor: Intel Core i7 / AMD Ryzen 7 or better. Photo editing is CPU-intensive.
RAM: 16GB minimum, 32GB recommended for large files and batch processing.
Storage: SSD for speed. 1TB minimum, with external drives for archive. RAW files accumulate quickly.
Display: Color-accurate monitor is essential. Look for monitors covering 99%+ sRGB. Calibrate regularly. Budget ₹30,000-80,000 for quality displays.
Essential Software
Adobe Lightroom: Industry standard for RAW processing, batch editing, and catalog management. Subscription-based. ₹800-1,500/month.
Adobe Photoshop: For detailed retouching, compositing, and advanced manipulation. Usually bundled with Lightroom. Essential purchase.
Capture One: Alternative to Lightroom with superior color tools and tethering. Preferred by many professionals. One-time purchase or subscription available.
Background removal tools: Photoshop, remove.bg, or Photoroom for quick background removal. AI-assisted tools save significant time.
Workflow Software
Asset management: Adobe Bridge (free), Photo Mechanic (fast culling), or DAM systems for large operations.
Color calibration: X-Rite ColorChecker, Datacolor Spyder — essential for accurate color representation.
File delivery: Dropbox, Google Drive, or dedicated platforms for client delivery.
The Skills That Actually Matter
Equipment is meaningless without expertise. These skills separate professionals from amateurs:
Lighting Mastery
Understanding light is the core skill. This includes: how light direction affects shadow and dimension, how light size affects hardness/softness, how to combine multiple lights for three-dimensional rendering, and how to control reflections on shiny surfaces.
This takes practice. Start with one light and master it before adding complexity. Study how light falls on objects throughout the day. Experiment relentlessly.
Camera Technique
Exposure triangle: Understand how aperture, shutter speed, and ISO interact. For studio work, you typically want low ISO (100-400), medium aperture (f/8-f/11 for depth of field), and shutter speed synced to your strobes.
Focus precision: Product photography demands sharp focus throughout. Learn hyperfocal distance, focus stacking for very close work, and when to use manual focus.
White balance: Correct white balance ensures accurate colors. Use gray cards or set custom white balance based on your lighting.
Composition and Styling
Rule of thirds and beyond: Basic composition rules provide structure. Breaking them intentionally creates interest. Study what works in your product category.
Negative space: Products need room to breathe. Leaving appropriate space around products looks professional; cramped framing looks amateur.
Styling sensibility: Knowing which props complement products, how to arrange multiple items, and when to keep it minimal. This aesthetic judgment develops through study and practice.
Post-Production Skills
RAW processing: Extracting maximum quality from RAW files through exposure, color, and tone adjustments.
Retouching: Removing dust, scratches, and imperfections. Cleaning up backgrounds. Maintaining natural appearance while perfecting details.
Color accuracy: Ensuring product colors match reality across different devices. Understanding color profiles and export settings.
Consistency: Applying the same look across an entire product catalog. Batch processing efficiently while maintaining quality.
The Hidden Costs
When budgeting, factor in often-overlooked expenses:
Learning curve time: Expect 3-6 months before producing consistently professional results. Your time has value.
Consumables: Seamless paper, cleaning supplies, props — ongoing expenses that add up.
Maintenance: Equipment repairs, calibration, software updates.
Upgrades: As skills develop, you'll identify gear limitations. Budget for evolution.
Starting Budget Recommendations
Minimum Viable Studio (₹1,50,000-2,50,000)
APS-C camera body, one quality lens, two LED lights with softboxes, basic stands and backgrounds, tripod, computer upgrades if needed, software subscriptions. Sufficient for simple products with practice.
Serious Hobbyist/Small Brand (₹4,00,000-6,00,000)
Full-frame camera, 2-3 quality lenses, strobe lighting kit with modifiers, professional tripod, color-calibrated monitor, comprehensive software stack. Produces genuinely professional results.
Professional Studio (₹10,00,000+)
Top-tier camera system, complete lens selection, multiple strobe setups with extensive modifiers, dedicated studio space buildout, high-end computing, backup equipment. Suitable for high-volume commercial work.
The Alternative: When Not to Build
Building a studio makes sense when you have ongoing, consistent photography needs. But consider the full picture:
Time investment: Photography skills take years to master. Is learning photography the best use of your time as a founder?
Opportunity cost: Money spent on equipment can't be spent on marketing, inventory, or other growth activities.
Quality gap: Professional photographers with years of experience produce results that take amateurs years to match.
For many brands, especially early-stage, outsourcing to professional studios makes more sense. You get professional results immediately without the learning curve, equipment investment, or ongoing time commitment.
Conclusion
A well-equipped product photography studio enables consistent, professional imagery that drives conversions. The investment in quality equipment pays dividends through every image you produce.
Start with essentials and upgrade as skills develop. Invest more in lighting and lenses than in camera bodies. Prioritize learning over buying — technique matters more than gear.
If the investment or time commitment doesn't fit your current situation, professional studios offer an alternative path to quality imagery without building in-house capabilities.
Whether you build or outsource, the goal remains the same: images that accurately represent your products and inspire customers to buy.