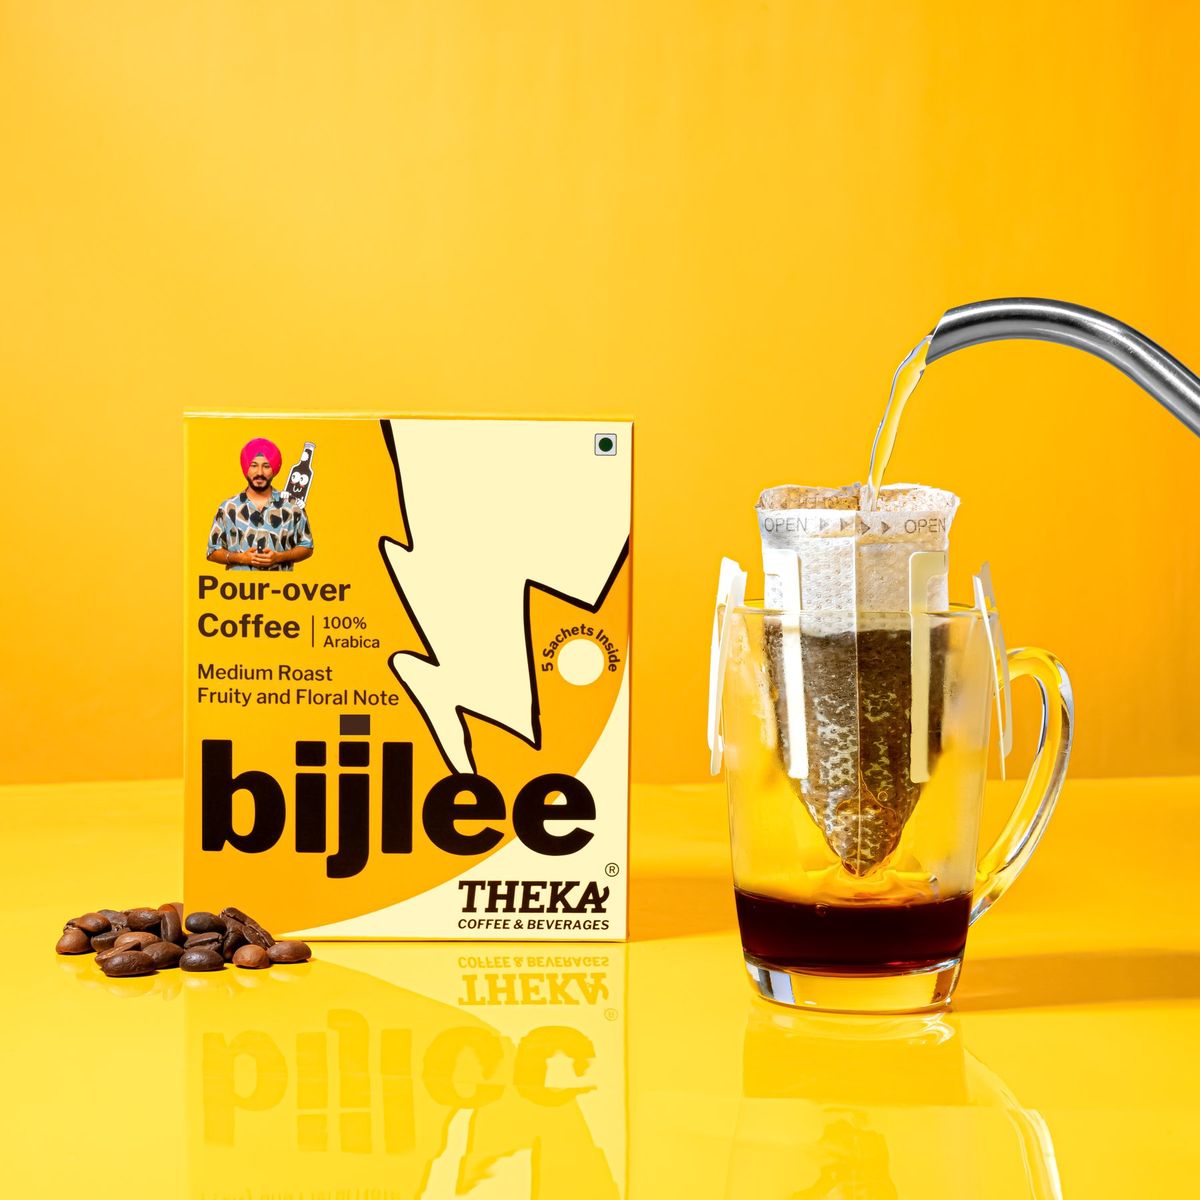
You don't need a ₹50,000 studio to take great product photos. With the right technique, a window, and your smartphone, you can create images that look professional enough for Instagram and your website.
This guide covers the exact setup we recommend for founders who are just starting out.
The Essentials Checklist
Before you start, gather these items. You likely have most of them already: A smartphone with a good camera (iPhone 11+ or equivalent), a tripod (essential for sharpness), a large white chart paper (for the infinite background), and a foam board or white sheet (for bouncing light).
Step 1: Lighting is Everything
Never use your room's ceiling light. It creates ugly yellow casts and harsh shadows. Instead, set up next to a large window. Natural daylight is the best (and cheapest) light source.
Position your table so the window is on the left or right side of your product. This 'side lighting' reveals texture and depth. If the shadow side is too dark, hold up your white foam board on the opposite side to bounce light back onto the product.
Step 2: The Infinity Curve
To get that seamless white background look, tape the top of your chart paper to the wall and let it curve gently down onto your table. Place your product on the flat part of the paper. This curve eliminates the horizon line behind your product.
Step 3: Camera Settings
Clean your lens! This is the #1 mistake. Wipe it with a microfiber cloth. Turn on the grid lines in your camera settings to help with alignment. Tap the screen to focus on your product, then drag the exposure slider (the little sun icon) up slightly to brighten the image.
Step 4: Shooting Angles
Shoot at eye-level for bottles and cosmetics to make them look heroic. Shoot from a 45-degree angle for boxes and shoes. Use 'Flat Lay' (top-down) for clothing and small accessories.
When to Upgrade
DIY is great for social media. But for Amazon and your main product listing, you might eventually need the crispness and pure white background that only studio lighting provides. Until then, this setup will get you the first 100 sales.